How it's made
OUR PROCESS
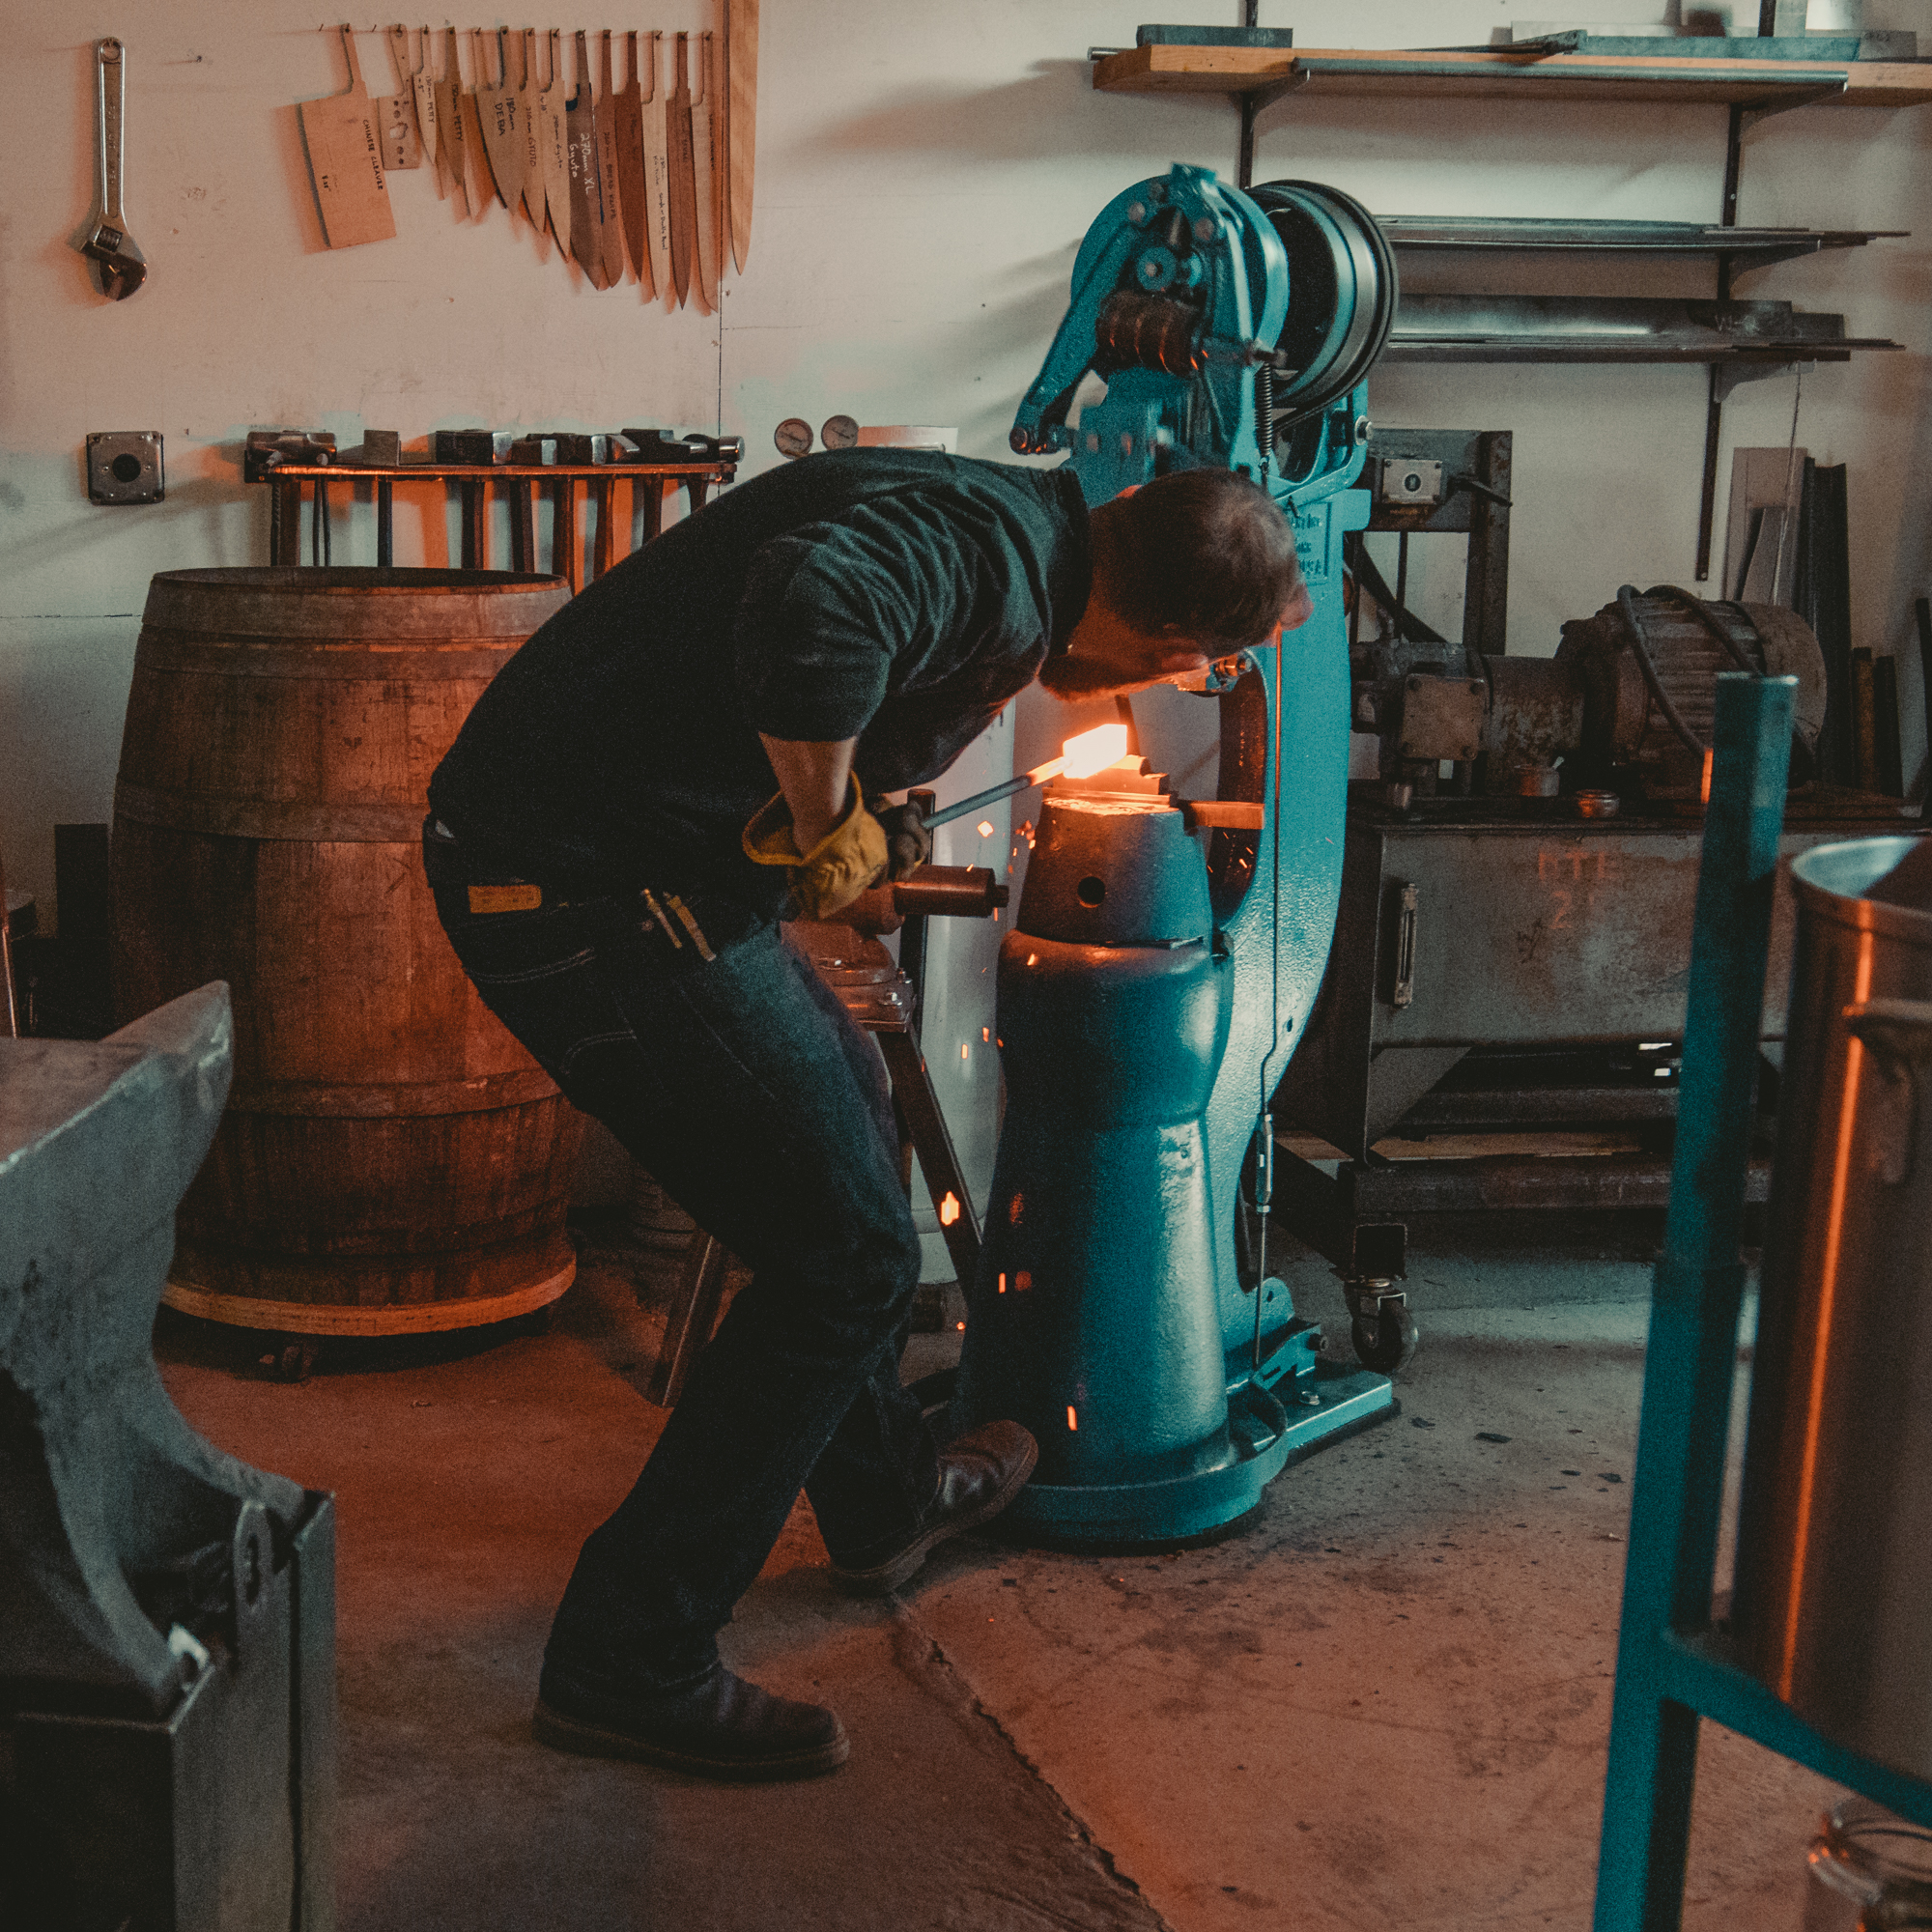
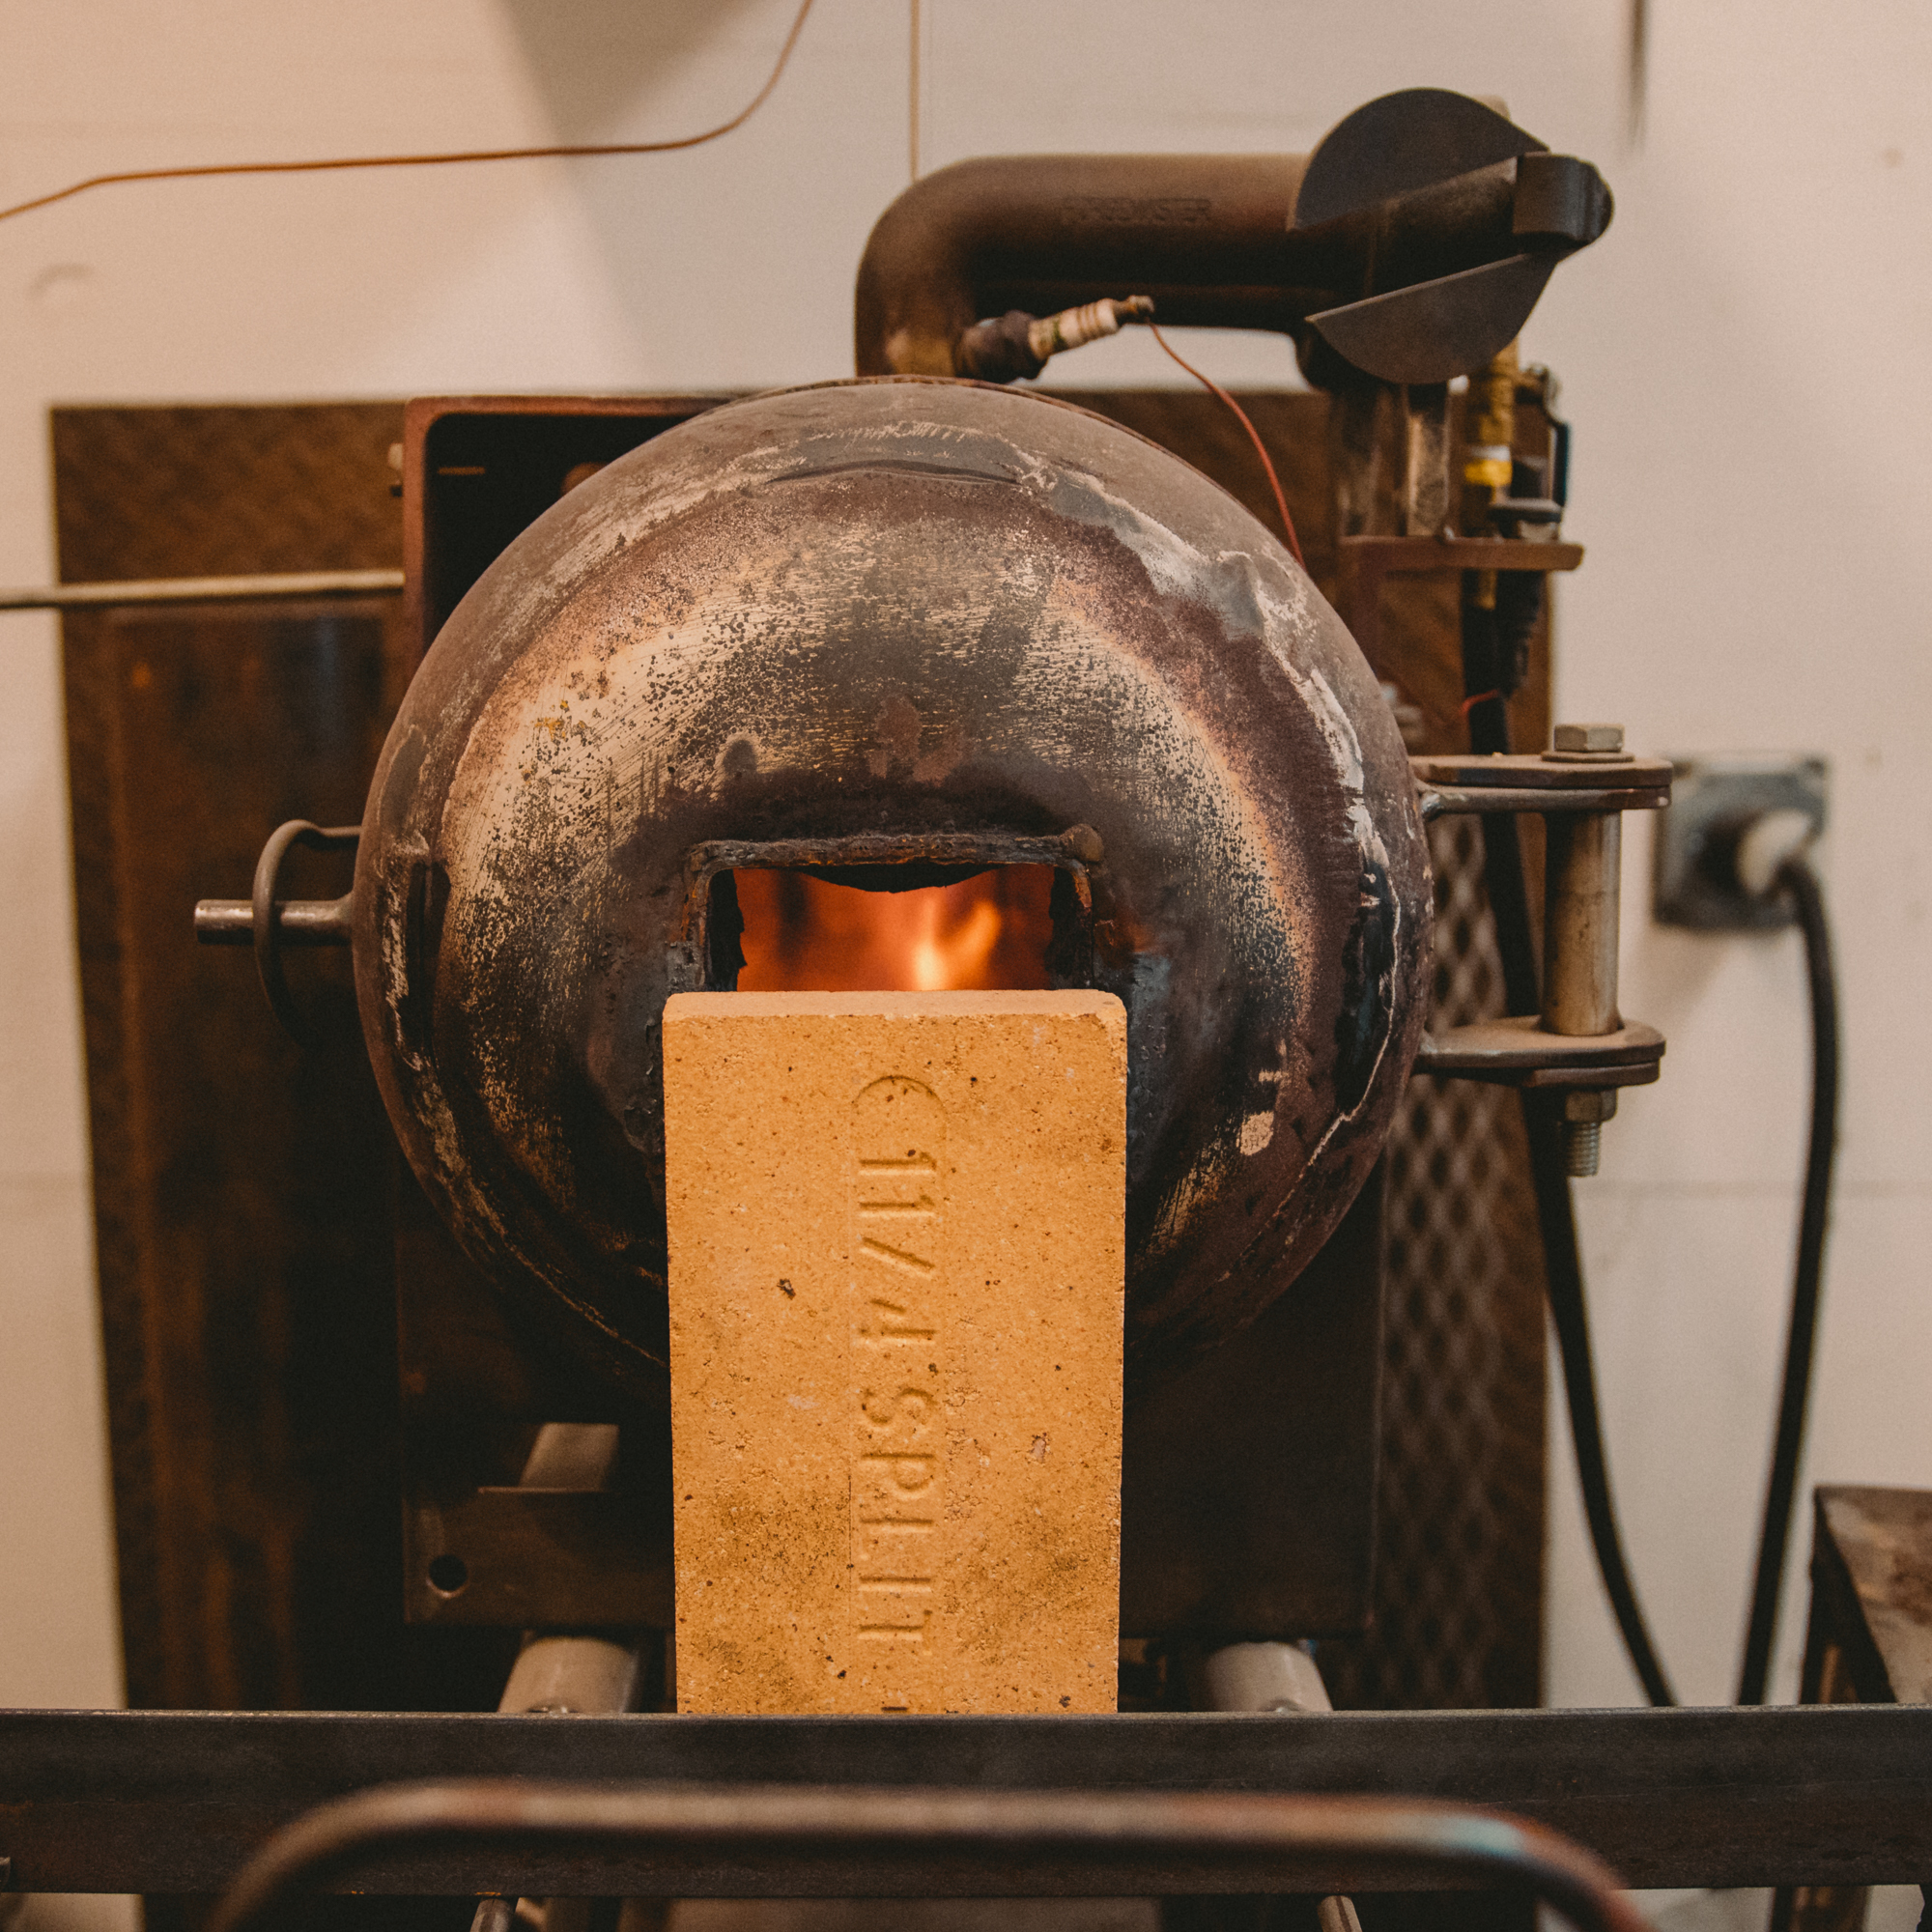
Forging
This is where it starts. Bars of steel are heated to over 2000°F and shaped by hand and hammer. To make damascus, two or more different varieties of steel are forge welded together into one solid piece and twisted, cut, drilled, or re-folded to create patterns.
Heat Treating
During this process the molecular structure of the steel is transformed through several cycles of heating and cooling at very specific temperatures which refine the grain of the steel and then quenching in oil which hardens the steel. Tempering, after hardening, relieves stresses built up and makes the blade tougher.

Grinding
After forging, grinding refines the profile of the blade and establishes the primary bevels of the cutting edge which prepares the blade for the next step.

Final Grinding
This is where the final cutting geometry is established. Small changes in the shape of the blade can have a large effect on how the knife cuts. Will it slice effortlessly through food while also releasing from the side, or wedge and stick every time? This very important step will determine the performance of the knife.
Hand Sanding
Finishing the hardened steel to a beautiful luster requires a lot of time and effort. Starting at 120 grit, the surface of the blade is hand rubbed at successively higher grits until a uniform 2000 grit finish is achieved.

Etching
Etching the damascus steel in acid reveals the pattern created during forging. The different steels used to create the blade can be seen at this point.

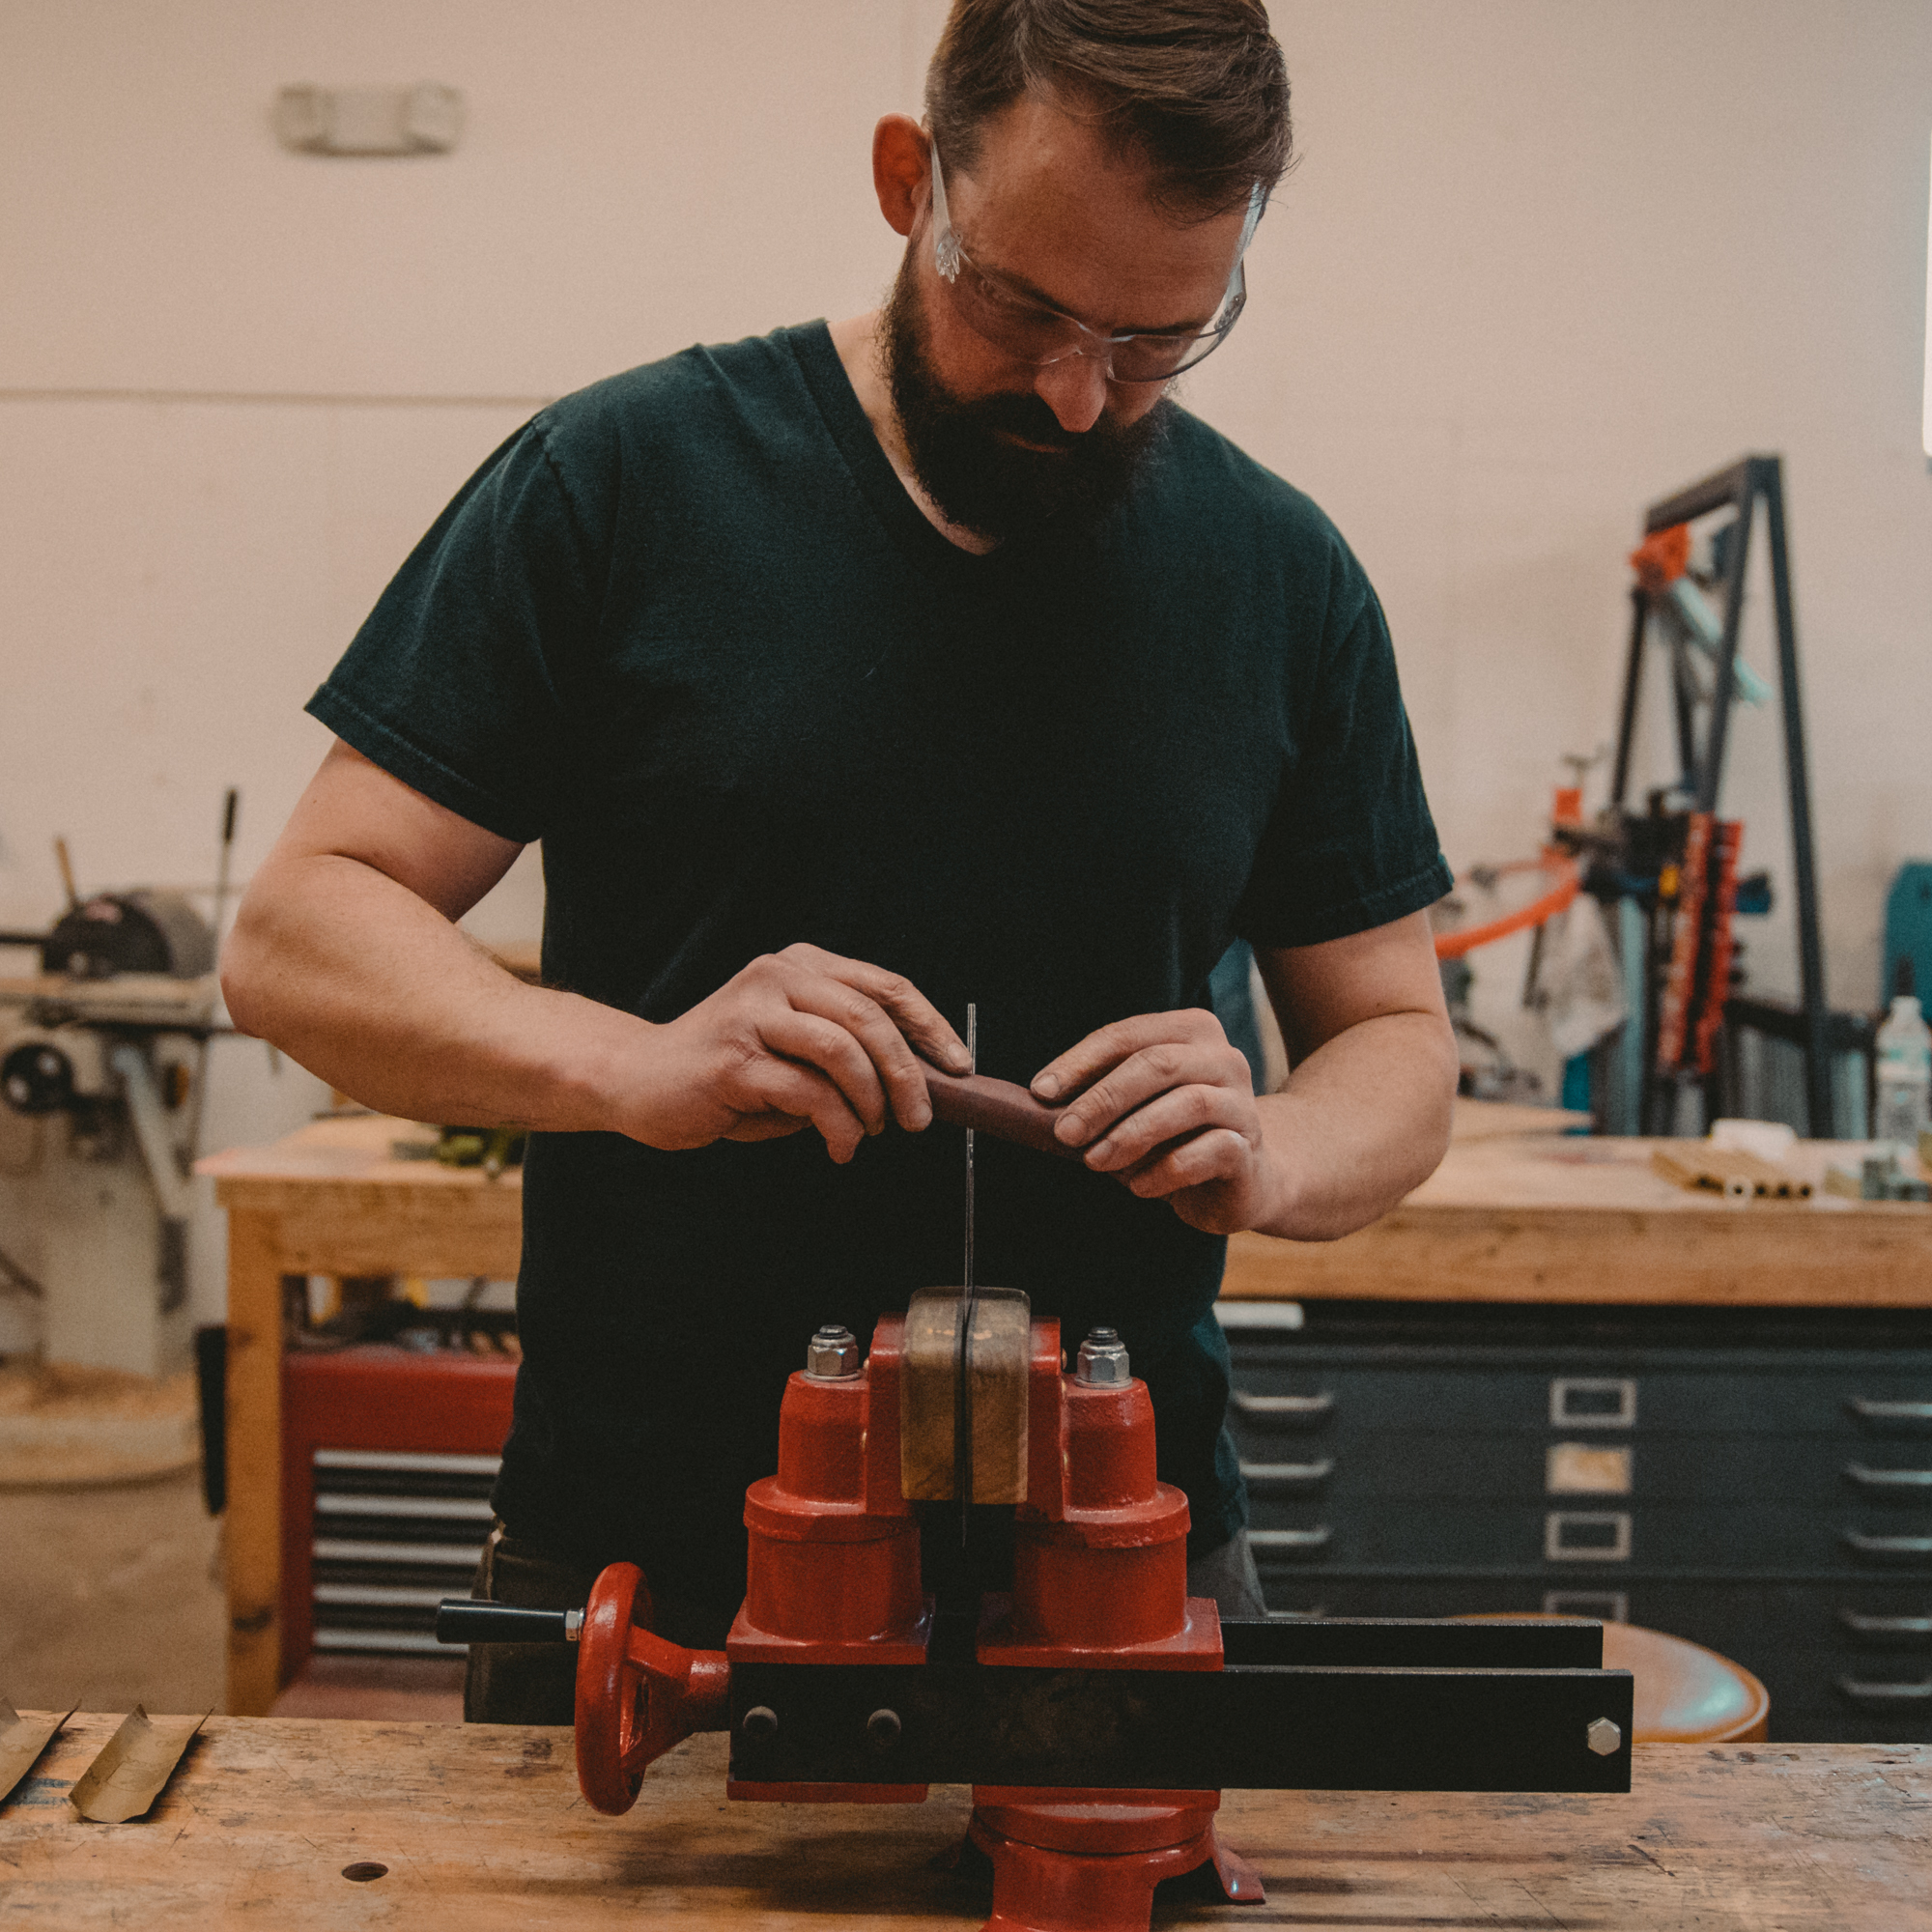
Handle Material
Color, texture, and patterns are what I'm looking at when I design the handle. I love this part of the process! Making a handle that matches the character of the blade and is also comfortable and durable is my goal.

Finishing and Sharpening
When the handle and blade are both complete the handle is permanently attached to the blade with marine quality epoxy. The final step is setting the edge bevel and sharpening to an 8000 grit finish on Japanese water stones. The knife will be sharp enough to shave with when it arrives!
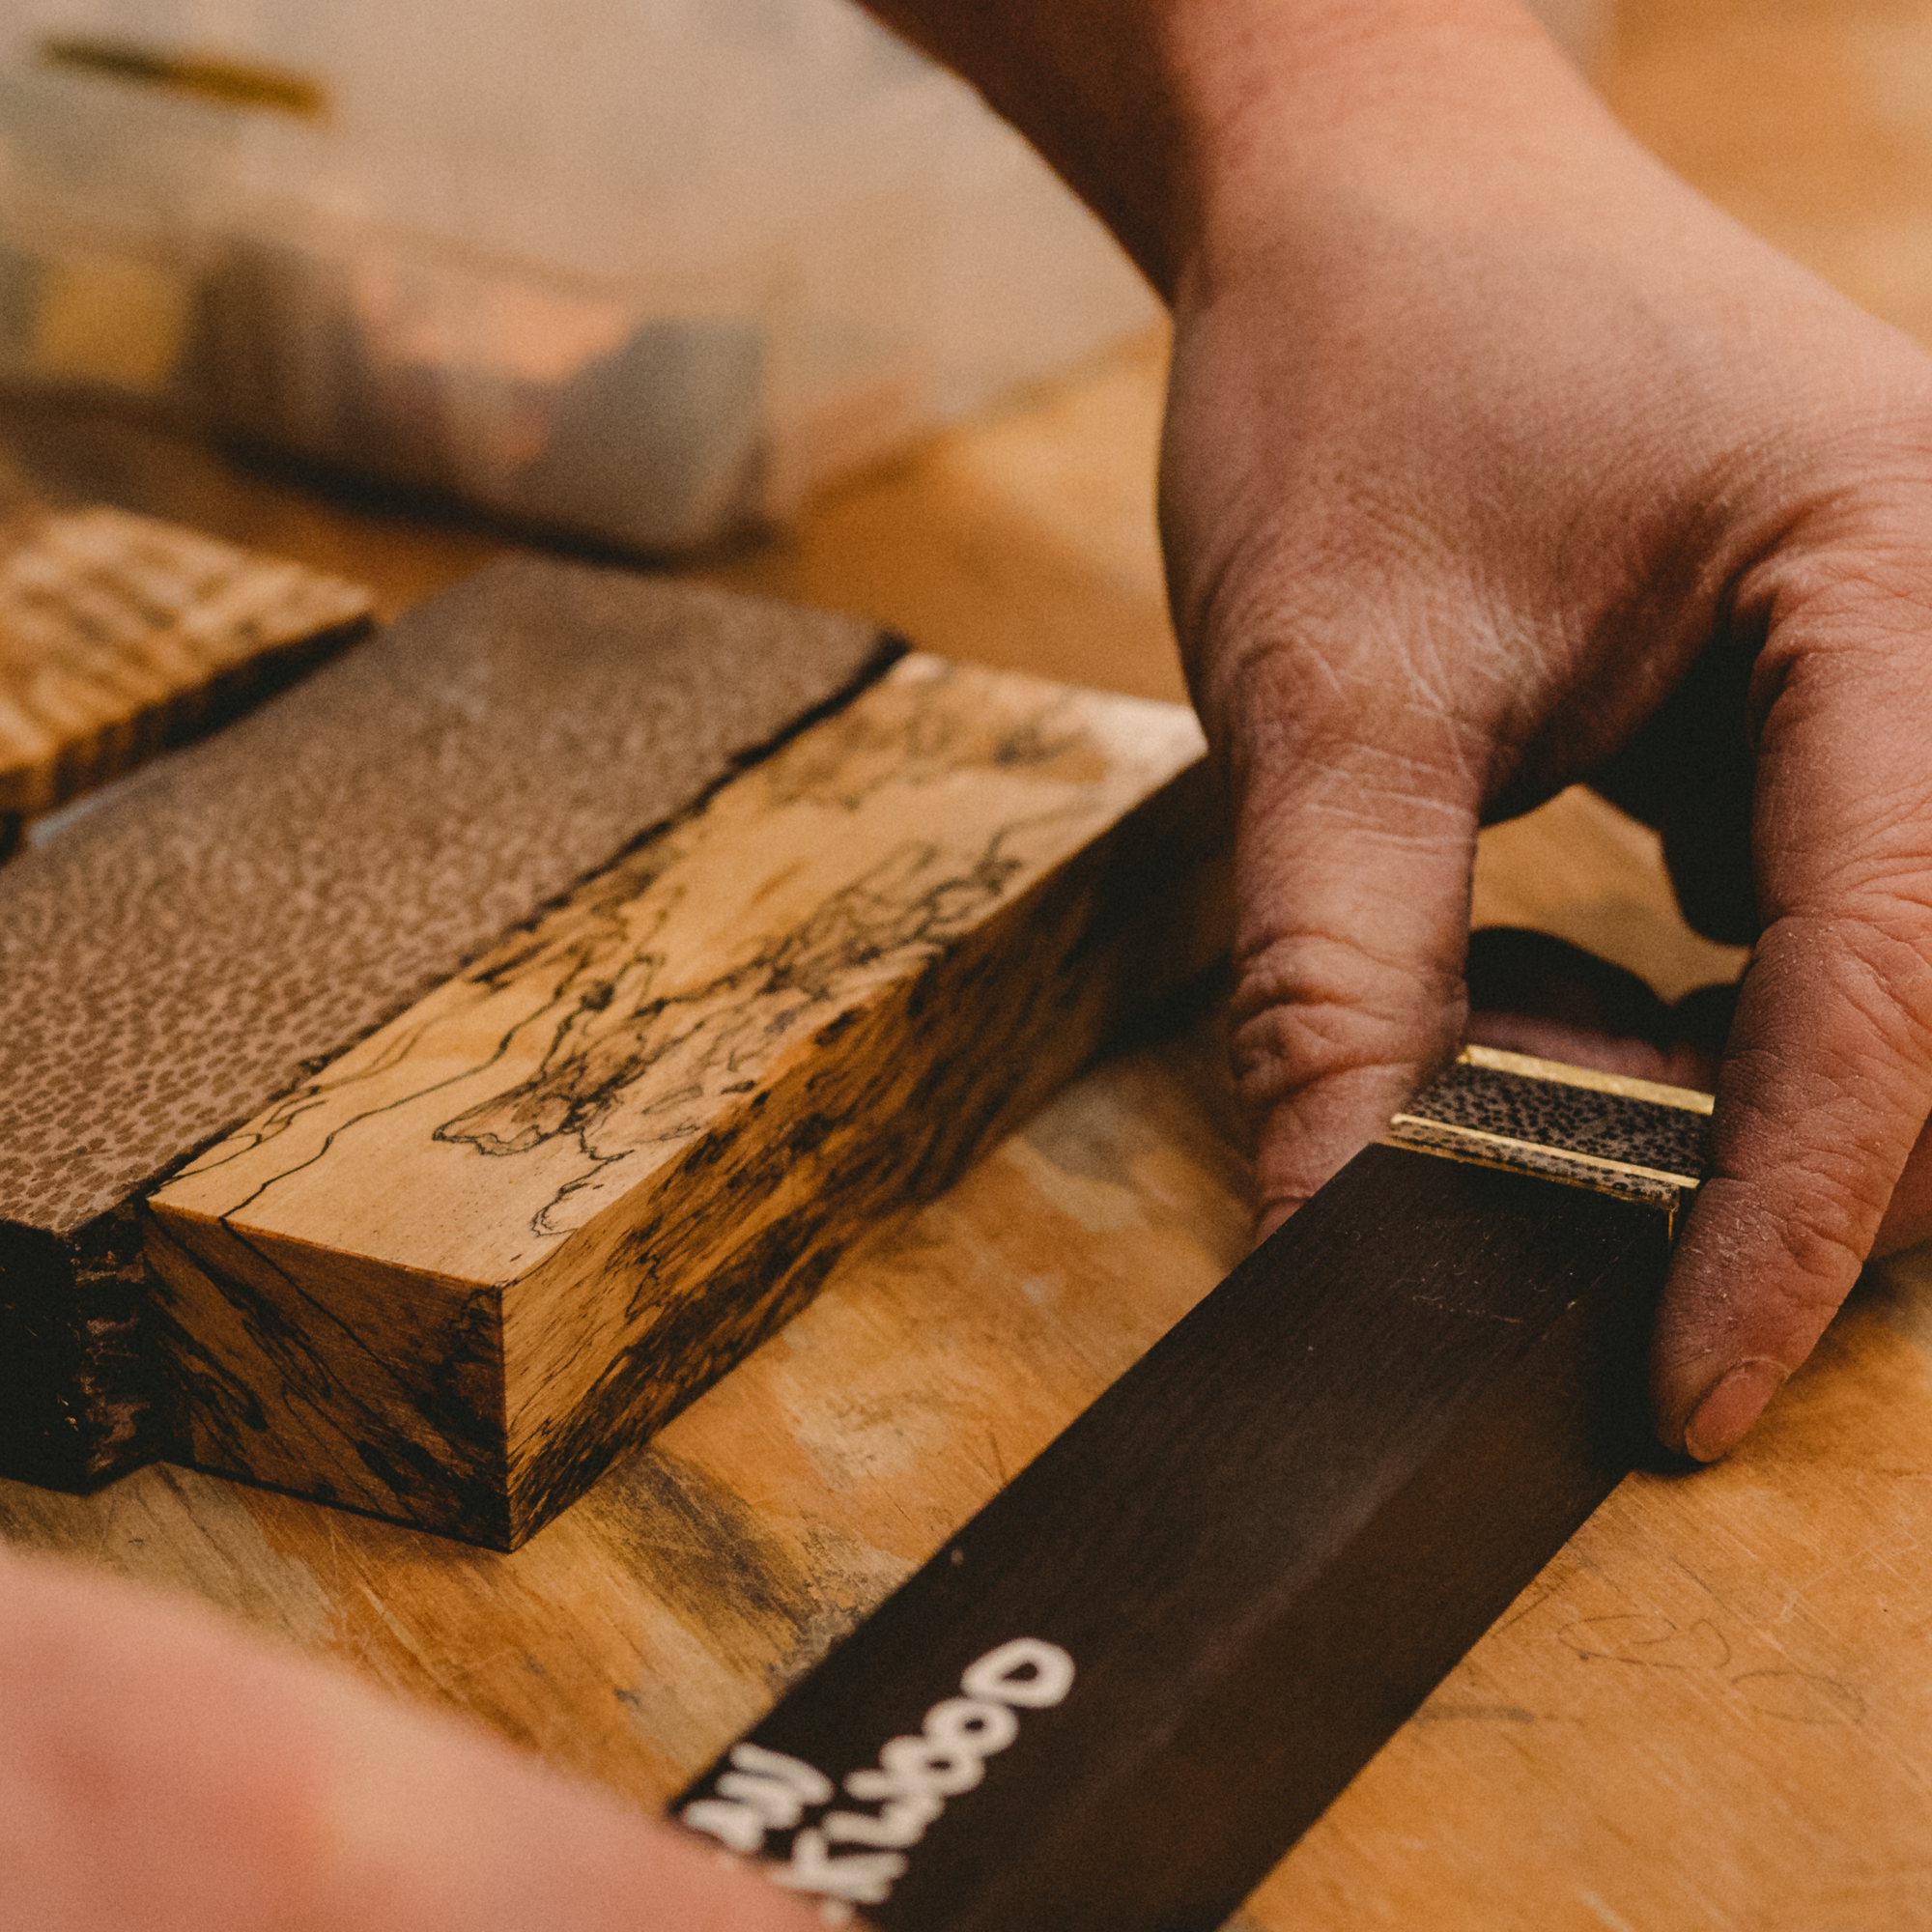
Cutting & Fitting Materials
Making handles uses many of the same techniques as making jewelry. I use a jewelers saw to cut slots, I solder pins in the end caps so they are strong. Precision and understanding of the materials are important here.

Making The Saya
Each knife I make comes with a fitted poplar saya which will protect the blade during transport and in storage. I also offer custom sayas in various materials. Similar to the handles, they are shaped by eye and the design must look correct with every other part of the knife.

Shaping, Sanding, and polishing
Even bevels, correct taper, size that matches the blade. Shaping is done by eye and must be correct before moving on to hand finishing. The handles are hand sanded to 1000 grit before polishing to a beautiful luster.